Take An Easy Hike To King’s Canyon Falls in Carson City
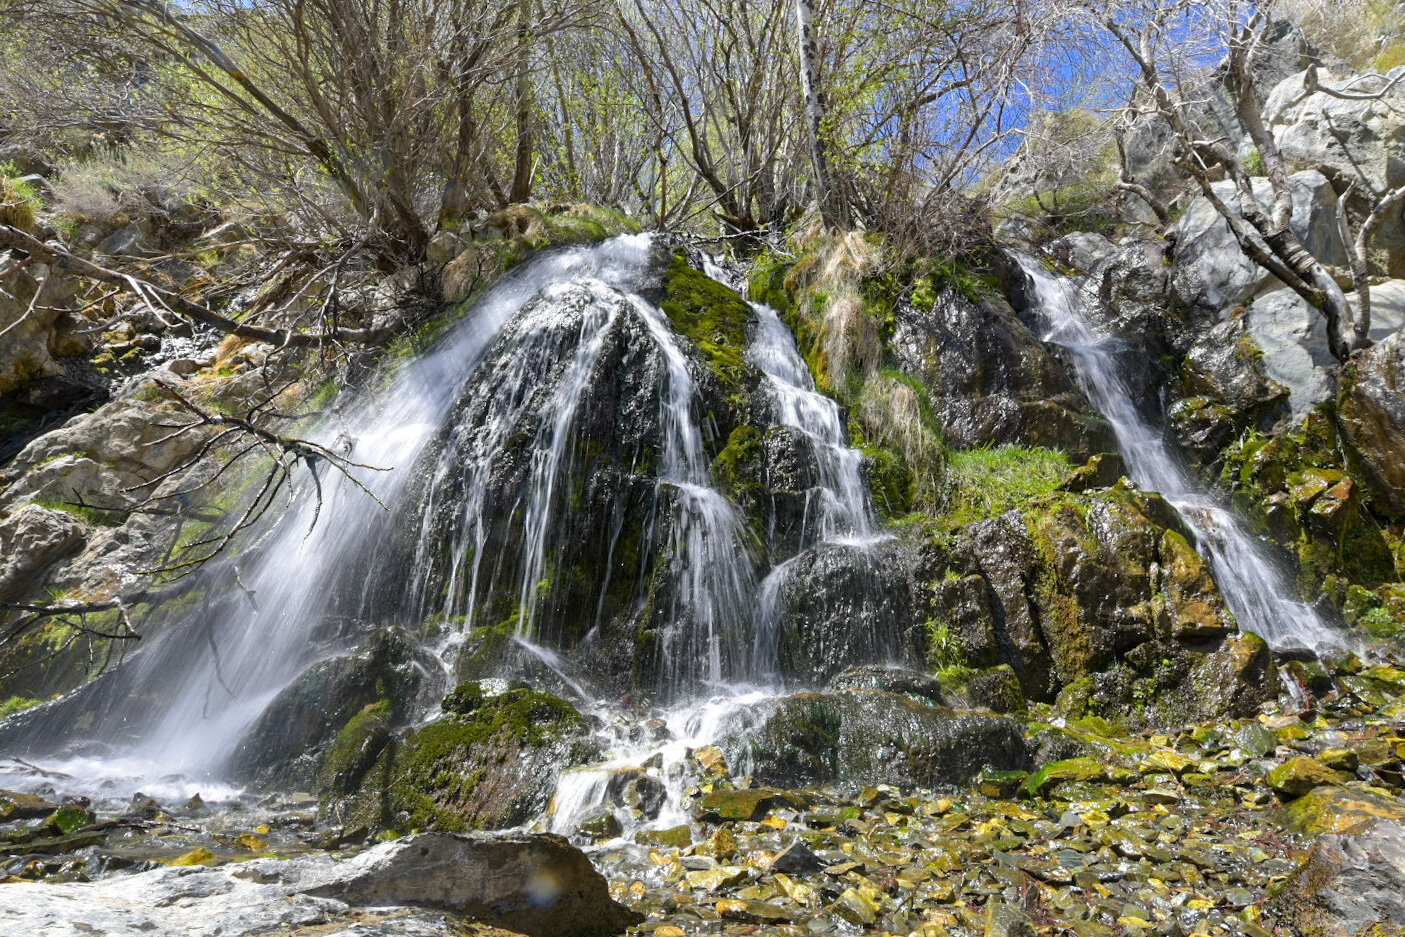
Located in Carson City at the end of King’s Canyon road, this 25-foot cascading waterfall offers families and solo hikers alike easy access to a natural oasis
Located in Carson City at the end of King’s Canyon road, this 25-foot cascading waterfall offers families and solo hikers alike easy access to an oasis away from the hustle and bustle of downtown.
We have been here numerous times and have almost always had the falls to ourselves at least part of the time. It is known mostly to locals, so your chances of not having to deal with hoards of tourists are decent.
If you’re planning a trip to Carson City or Reno, we highly recommend adding this place to your list of must-do activities. Below, you’ll find the information you’ll need for your visit.
The Trailhead
Getting to the trailhead from the downtown area is straightforward and simple. From the capital, you’ll do the following:
Turn onto East Musser street
Turn left onto N. Division street
Turn right onto W. King street
Continue on King’s Canyon road for about two miles
Keep left to stay on King’s Canyon road for about a third of a mile until you hit the dead end.
At the dead end, you’ll see a small dirt lot ahead of you with informative signage on both sides. This is the lot you’ll use. It can comfortably hold around 6-8 vehicles but if it’s full, you can simply park on the side of the road.
After you park, you’ll see a dirt road heading off to the left and a set of stairs leading up to some signage on your right. You’ll want to take the latter as that’s the most direct route to the falls.
You’ll also want to take note that this trail is for hikers only. Equestrians and biking are not permitted. If you’re looking for a trail that can accommodate one or both of those activities, check here.
Be sure to stop at the sign and read about the fire that took place in this area in 1976 and the resulting deaths of three Firefighters who bravely fought it. There’s a memorial plaque on the left of the trailhead listing the names of those of perished.
The Trail
As stated in the title, this would be considered an easy trail just based on length alone. From the trailhead to the falls, it’s just about a quarter mile over just two quick sets of switchbacks.
Don’t be fooled, though, because it is deceptively steep in some sections. It isn’t hard, but if you’re not in decent shape or you’re not used to the elevation, you’ll definitely feel it.
Along the trail you’ll see sporadic signs asking you to remain on the trail and not cut through. It may be tempting in some spots but please obey the signs and stay on the trail. There’s been a lot of effort in recent years to restore the area.
As you near the top of the trail you’ll be rewarded with sweeping views of Carson Valley below. This view is also an indication that you’re close to the falls and that the “hard” part of the trail is over with.
Also around this part of the trail is where you’ll see the junction (on your left) that leads to the 1.8-mile North Kings Loop. This trail goes over and around the falls, not to it. So you’ll want to continue straight on the trail.
The Falls
As you turn the corner into the canyon, you will run right into the falls. In fact, like most waterfalls, you’ll hear it before you see it. As you arrive, you’ll notice boulders off to the left that make for the perfect spot to get off your feet.
The falls flow year round, but spring time is when it’s at its best while getting reduced greatly in the fall. Winter is the one season we haven’t been up here but from what I hear, there is water flowing and the trail, while snow covered and icy in some spots, is still accessible.
READ ALSO: Your Complete Guide To Visiting Burney Falls
If you’re here during a particularly heavy flow, the pool at the base of the falls will be around ankle deep, at best. Prior visitors have set up rocks to step on to get across to the other side so you can avoid stepping into the water.
If you’re feeling particularly adventurous, there are boulders off to the right of the falls that you could use to scramble up to the top. From what I hear, there are small cascades you could check out up there. We have yet to do this so I can’t vouch for it, unfortunately.
Take as long as you like to hang out. People will come and go but if you’re patient, chances are good you’ll have it to yourself at some point. When you’re ready, simply turn around and head back in the same direction you came.
On the way back, you’ll again be presented with the opportunity to extend your hike via the North Kings Loop. This will add 1.8 miles to the overall hike. This is something I plan to do on my next visit so I’ll be sure to update this post when that happens.
Conclusion
We hope you’ve found this article useful for planning out your adventures. If you enjoyed it, please support us by sharing this article with your friends and family on Facebook, Pinterest, or your favorite social media site.
You can further show your support by staying on and reading one or more of the related article above. You can also subscribe to our newsletter below. Thanks!
Safe travels.
How to Visit Berlin - Ichthyosaur Historic State Park
If you love ghost towns and dinosaurs then you need to head out to this little known town in Nevada’s expansive catalogue of State Parks. Berlin-Icthyosaur (say that 10 times fast) is located
If you love ghost towns and dinosaurs then you need to head out to this little known town in Nevada’s expansive catalogue of State Parks. Berlin-Icthyosaur (say that 10 times fast) is located just outside the (very) small town of Gabbs, NV. It has been dubbed as the, “Bodie”, of Nevada and not only contains remnants of an old mining town (Berlin), but it’s also the site of some of the largest Ichthyosaur fossils ever discovered.
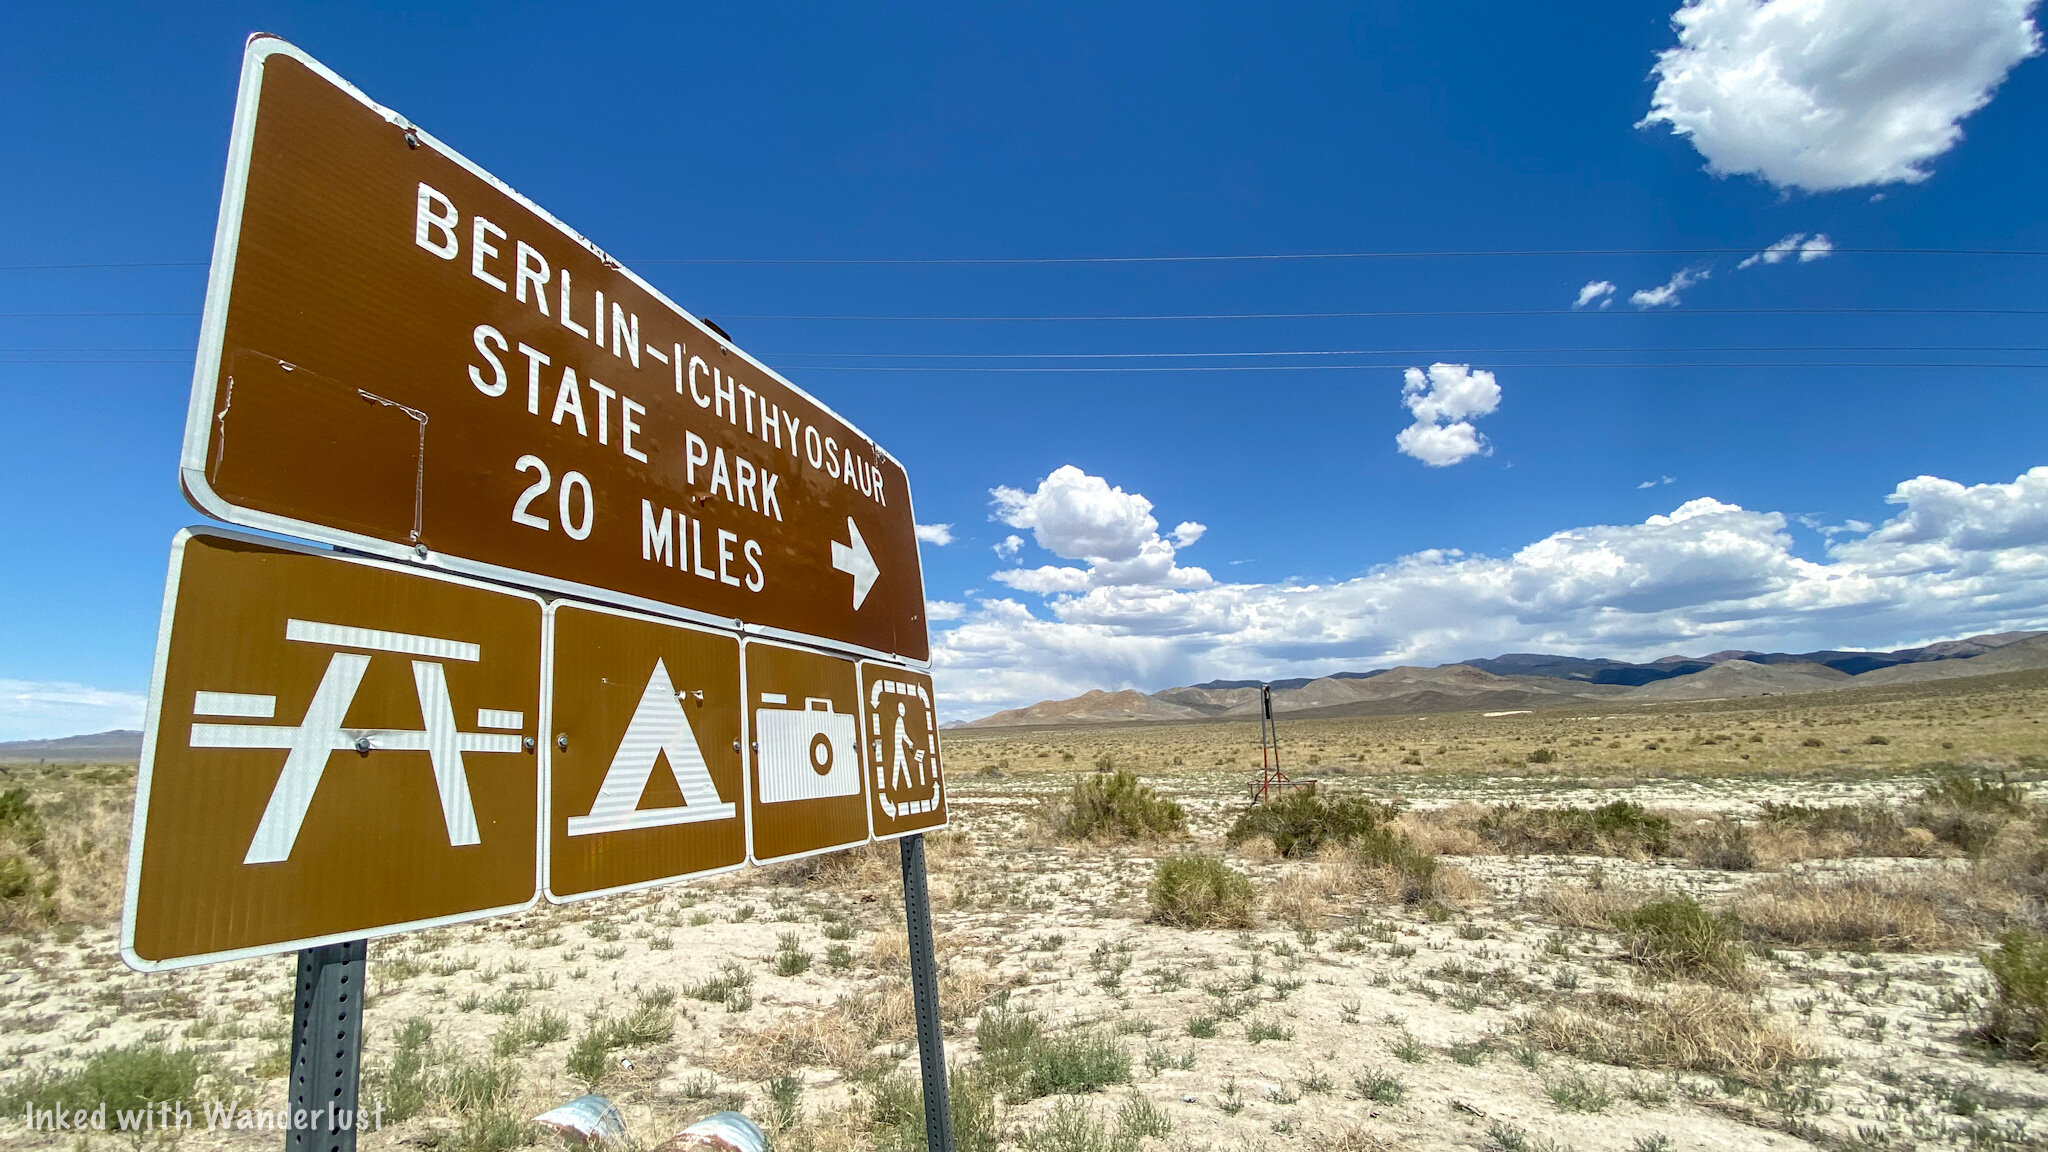
Berlin can be a difficult park to find as it is tucked away deep into the Shoshone Mountain Range and doesn’t receive a lot of publicity as some of the other state parks, but it is more than worthy of your efforts to get out and explore it. So read on and discover how you too can visit Berlin-Ichthyosaur State Park.
How to Get There
As stated above, Berlin is a bit out of the way and takes some effort to get to from either direction. It is located in Nye County and the nearest anything to it is the small, unincorporated town of Gabbs (population 155 as of this writing). If you’re coming from:
Reno: Take I-80 east towards Fernley. You’ll then take U.S 50 east for about 70 miles before turning right onto highway 361 and follow that for about 35 miles before finally arriving in Gabbs. From this direction, you’ll take a left on NV-844 east for 16 miles. This road will take you directly to Berlin.
Las Vegas: Make your way to U.S 95 north and follow that for roughly 215 miles. You’ll then veer right onto Route 89 to Gabbs and once there, you’ll follow the same directions above. The only difference is you’ll turn right on NV-844 to the park.
Salt Lake City: You’ll get onto I-80 west and follow that for 300 miles. You’ll then take the exit for NV-305 south heading for the town of Austin. Once in Austin, you’ll briefly turn left on the Lincoln Highway before exiting to NV-722 (you’ll pass the Austin airport). Then, turn left on NV-21 before turning right onto Forrest Developed Road 024 (this will be the back way into Berlin).
As you can see, no matter which direction you are coming from, it’s going to be an adventure just getting to Berlin. So whichever way you’re coming from, be sure to stop at one of the bigger towns and fuel up before arriving in Gabbs or Berlin as there are no services in either. It also wouldn’t hurt to make sure your tires are properly inflated and all your fluids are good.
With the exception of the final few miles and coming in through the back way, all roads leading to Berlin are paved and well maintained. The last stretch is on a maintained gravel road. My Chevrolet Cruze made it up there perfectly fine. Potholes and dips were minimal. Keep in mind that if you’re using GPS, it may or may not have you go right at the split. Don’t. Keep to the left road and that will take you straight to the main entrance.
The Fossil House
It’s totally up to you on where you want to start. Once you’ve paid your entry fee, you’re free to enjoy the park at your leisure. However, we visited during the covid-19 crisis and one of the ways they were trying to prevent the spread at this particular location was to close the Fossil House. Thankfully, we were one of only two cars that came through this day so the Ranger was kind enough to open it up for us to check out. So we started our day here.
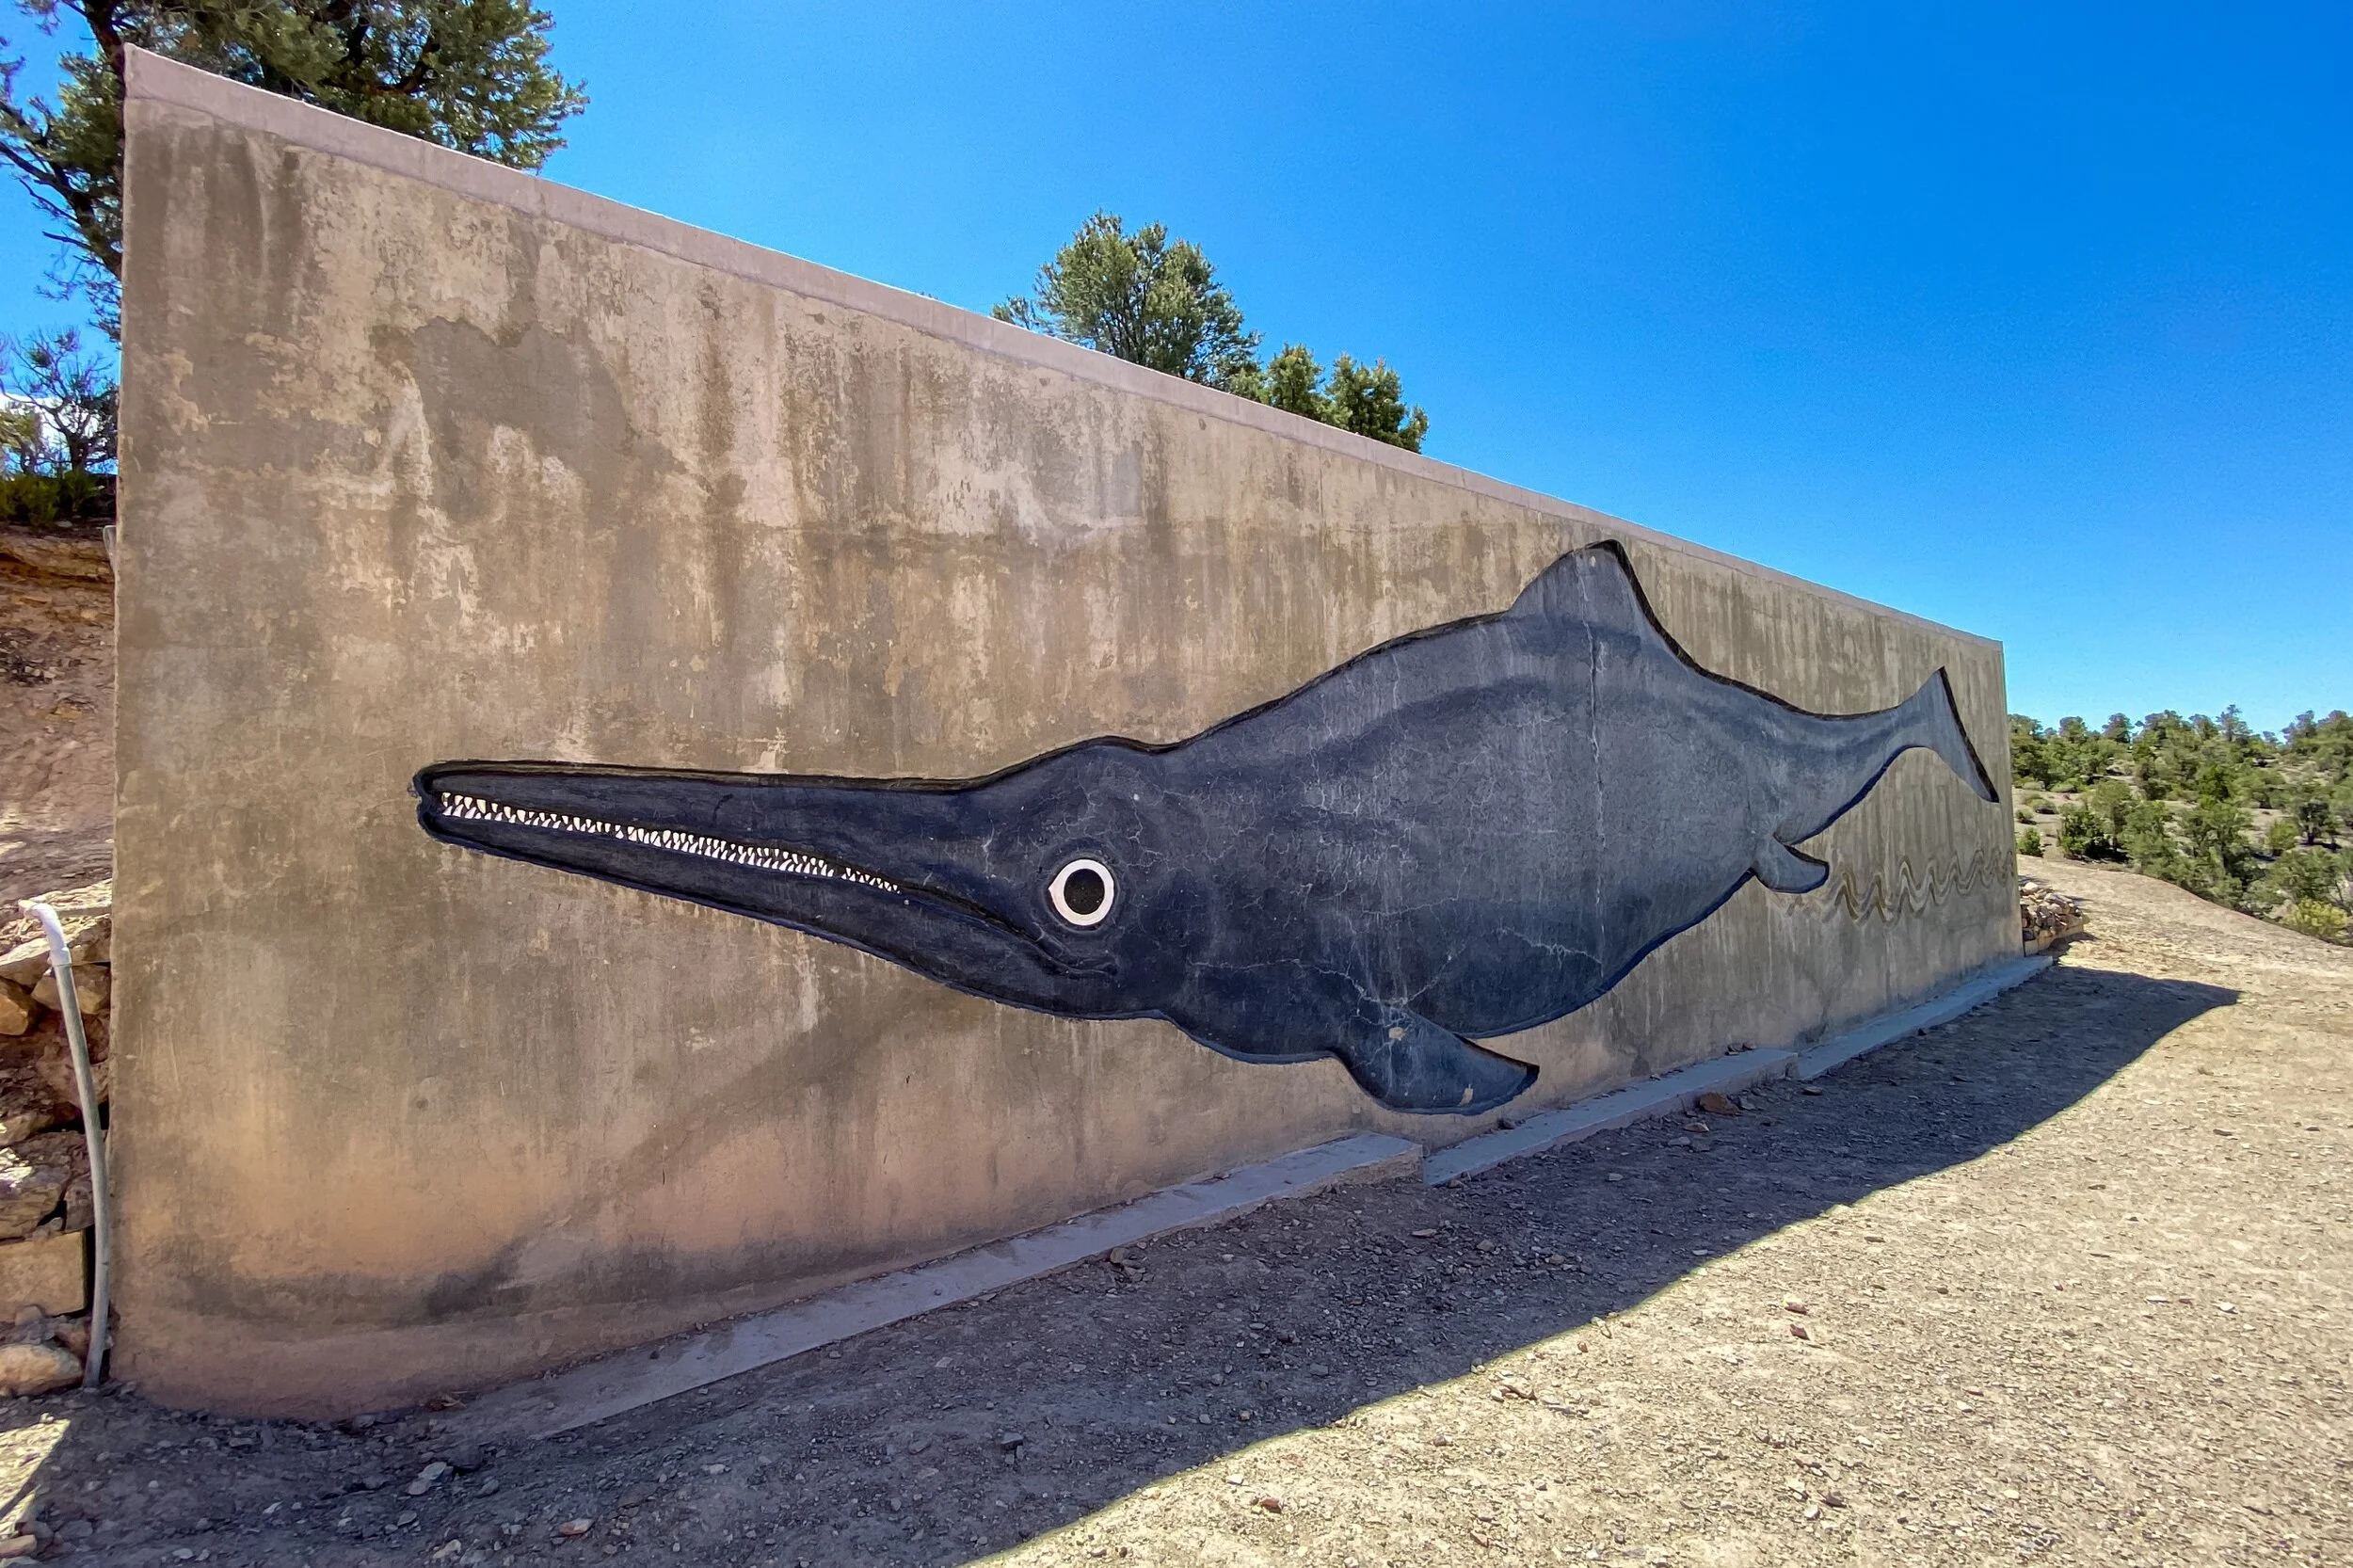
To get to the Fossil House, simply stick to the main road. You’ll eventually pass by the campground and will see a narrow road on your right with a sign pointing the way. Take this road. Be warned, this road is VERY narrow and there isn’t a whole lot of room for two vehicles to pass each other. At the top of the hill, you’ll come to the road’s terminus at the parking lot for the Fossil House. You’ll see a giant mural of an Ichthyosaur to the right of the lot to make it fairly obvious that you’re in the right spot. This mural represents the actual size of the largest, intact fossil inside the house.
As you can see from the above photo, Ichthyosaurs were known to get huge. Some coming in at over fifty feet in length. The fossils found at this location were discovered in 1928 with excavations beginning in 1954 and running through the 1960’s. After it was all said and done, there were 40 near-complete Ichthyosaurs found at various locations throughout the park.
Tours of the Fossil House are 40 minutes in length and offered during the following times:
Daily, Memorial Day through Labor Day at 10am and 2pm with an additional noon tour offered on Saturdays and Sundays.
From March to Memorial Day and Labor Day to late November, there is no noon tour.
FOR THE REMAINDER OF 2020 AND UNTIL FURTHER NOTICE, TOURS OF THE FOSSIL HOUSE ARE CANCELED! I will update this once official information from park officials are provided. There are viewing windows at the Fossil House that you are free to use.
There is a fee to take this tour. It is $5.00 per person while kids 12 and under are free.
Inside the Fossil House, there’s a small loop trail and takes you around the excavation site with actual fossils in the middle of it. There are numbered, white markers next to certain sections of the fossil that explain which part of the Ichthyosaur you’re looking at. At first, it won’t make any sense but eventually you’ll see it and that “ah hah” moment will hit you.
I’m grateful to the Ranger that opened the house and allowed us to explore it at our leisure. Normally, as stated above, this is part of a tour. The Ranger gave us the booklet he uses during the tour that matches up to the markers on the fossils and explains everything. Once we were done, we chatted with him a bit and then left to explore Berlin proper.
To the Ranger that did this for us; If you’re reading this, thank you so much.
Berlin: A True Nevada Ghost Town
Once we got our fill of Ichthyosaurs, it was now time to explore the ghost town portion of the park. We drove back down to the town proper and found a small parking space near the visitor center and flag pole. In case you’re here during a particularly busy day, just know that parking can be a little scarce here. You may have to get creative.
Berlin was a true, turn-of-the-century mining town. The height of its peak ran from 1898 to its death in 1911. However, mining activity began in the area as early as 1863 when silver was discovered in Union Canyon resulting in the formation of the Union Mining District and included the towns of Berlin, Grantsville, Ione, and of course, Union. A few years later in 1896, the Berlin Mine was established.
By the time mining concluded in 1911, the estimated total production of Berlin was $849,000 with a price of $20 per ounce of gold. Around 250 people including Miners, Wood-Cutters, Charcoal Makers, a Doctor, Nurse, Forest Ranger, and Prostitute made up the town. The cool thing about this abandoned town is that not some, but MOST of the original buildings are still standing and there are even some original residents still buried in the town cemetery.
Here are a few of the highlights you’re able to check out on this self-guided tour:
The Machine Shop
This was what we know now to be a Maintenance Shop. Here, Blacksmiths and Mechanics worked to keep the machinery of the mine in working order.
Every so often, a passer-by would have his vehicle towed here to be worked on after breaking down.
The Assay Office
Here, samples of rock, ore, and concentrates from the mill would be sent for processing (assayed) to determine the values they contained.
The furnace used charcoal because it was the only clean burning fuel available locally. The night watchmen would use this office to keep warm and eat their meals.
The Stage Station
This is where the stage driver and his horse would live…together. A partition inside separated the living quarters from the barn section of the building.
The men who drove stage during this time was John Mullin, Ed Dieringer, and Alex Dyer.
Company Store
There’s nothing much left now, but this was once the site of the company store. Here, they sold everything from mining equipment, clothing, groceries, and drugs to locals and workers.
During labor troubles in 1905, the store also served as a jail. The building you see in the background was a storage warehouse.
Superintendent Home
This was the home of the mine’s superintendent and now serves as a small welcome center.
During a labor strike in 1907 when the miners wanted a raise from $3.50 to $4.00 per day Mr. Bowen, the Super, shut the mine down.
To counter, the miners teamed up and forcefully escorted Mr. Bowen off property. He then drove to the town of Tonopah and brought back a Sheriff to help re-gain control.
The Berlin Mill
During the heyday of Berlin’s production, you’d see a beehive of activity here.
One man would be operating the crusher, another tended the 30 stamps and concentration tables, while another looked after the boilers and steam engines.
This is by no means an exhaustive list of features found in Berlin. Other cool things to check out include the town cemetery, mine foreman’s house, miner’s dugout, entrance to the Berlin mine, doctor’s house, and more! As you can see, you could easily spend a full day or more checking everything out in Berlin.
Lodging & Fees
The nearest hotels and/or Airbnb’s you’ll find are in the bigger towns nearby. These include Fallon, Austin, and Hawthorne. If you want to stay in the park, they have an established campground you could utilize. It contains 14 well-spaced units, some being able to accommodate RV’s up to 25 feet long. Each unit comes with a fire pit, BBQ grills, covered picnic tables, and drinking water (outside of winter). Restrooms and an RV dump station are located nearby.
The fee to camp is $15.00 per night with a 14 night maximum (30-day window). Keep in mind that this per night fee is in addition to your entry fees which are:
$5.00 per vehicle
$2.00 per bike (motorcycle)
When you arrive, someone may or may not be at the gate collecting entry fees. We arrived just before the Ranger was about to take off so he was kind enough to take our money and fill out the envelope for us. If there is no one there, simply stop at the gate to fill in the envelope and drop it into the red deposit pole (with your fee included, of course). Much like most Nevada State Parks, only cash is accepted for entry fees.
There are also no restaurants or vending machines in the park. So be sure to bring snacks and water with you. There is one restaurant in Gabbs (the gateway town to Berlin). It is called, “R&D’s Bar”, and serves up burgers, fries, hot dogs, chicken wings, and similar fare. Aside from that, you’ll need to get to the bigger towns listed above.
Directly adjacent to the pay station at the main entrance is a restroom of the pit toilet variety. I must admit that of all State and National Parks I’ve been to, Berlin had THE cleanest restroom of its kind. There is another restroom located near the campground.
Conclusion
Berlin is perhaps Nevada’s most intriguing and unique state park. The combination of an abandoned mining town and the discovery of a massive amount of Ichthyosaur fossils should put Berlin at or near the top of any traveler’s list of places to explore. It’s also a great place to shoot dark sky photographs if you have the gear. I highly recommend and encourage you to visit this amazing place for yourself. Thanks for reading!
Safe Travels.
Have you visited Berlin? Do you plan to? Tell me about it in the comment section below!
Support this site by sharing this article with your friends and family on your favorite social media page.
Hiking Wilson Canyon: A Hidden Gem in The Nevada Desert
Situated between the small town of Yerington and the even smaller community of Smith Valley, Wilson Canyon is a recreational paradise with something for everyone. Hiking…
Situated between the small town of Yerington and the even smaller community of Smith Valley, Wilson Canyon is a recreational paradise with something for everyone. Hiking, horse riding, river tubing, camping, motor sports, fishing, etc. You name it, you can do it.
Even though there are plenty of activities to take part in, this article is going to focus on the 3.5 mile interpretive loop trail on the west side of the canyon. If you want to use your dirt bike, quad, etc, you can do so on the opposite side of the highway at the dunes.
The trail is considered moderate in difficulty. The very beginning and end (where you climb in and back out) are short but steep sections. The rest is mostly flat with the occasional gradual ascent/descent that’ll ultimately lead you to an epic payoff at the viewpoint.
At the end of the article I’ve included a screenshot of the route we took that was recorded by my watch. That combined with the included images will give you a pretty good idea of what you’ll be dealing with.
Where to Find It
The interpretive loop trail begins and ends in the small parking lot located at the west end of the canyon. The decently maintained dirt lot can hold a couple dozen vehicles and features two shaded picnic tables. The trail begins just behind these.
If you’re coming from Yerington, the lot will be at the end of the canyon on your left. If you’re coming from Gardnerville or Topaz, the lot will be on your immediate right as you’re coming into the canyon (shortly after passing the rest stop).
The Trail
This first section of the trail leading up to the ridge of the canyon is the second steepest of the whole thing (the first being the opposite side coming back out, but more on that later). It isn’t difficult by any means, but if you’re not used to hiking at higher elevations, you may have a slow go at it.
When you get to the top of the ridge, be sure to turn around and take in the views. In a single frame of view you’ll see a portion of the west fork of Walker River with Mount Siegel and the Pine Nut Mountain Range providing the backdrop.
From here, you have two choices. You can go further up the ridge to the left and check out the vertigo inducing views of the river below or, once you’ve gotten your fill of the views, you can continue down the trail proper leading into the canyon.
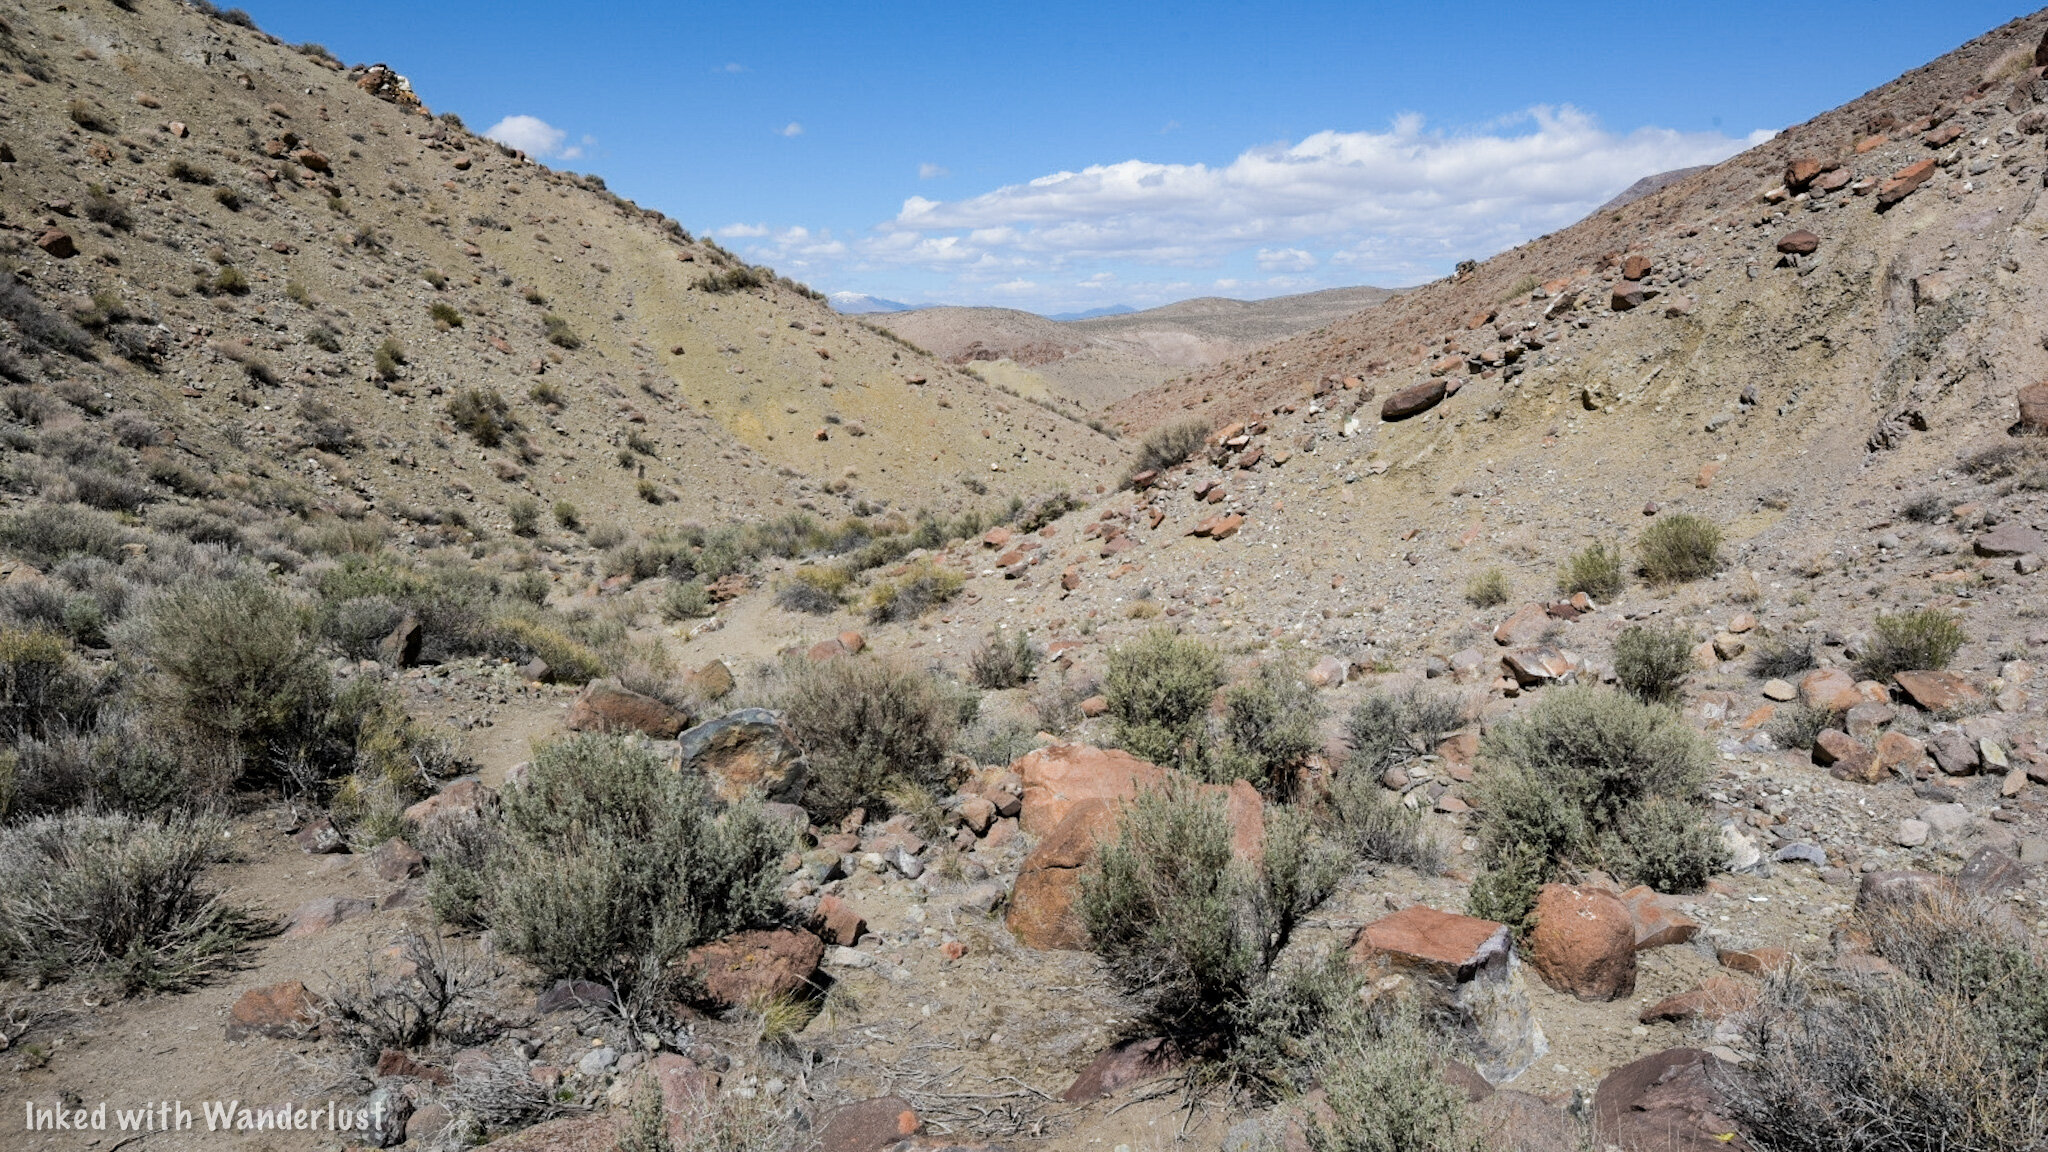
Going down this section of the trail will mean you’re going to lose all the elevation you just gained. It’s frustrating, I know, but it’s the only way in. On your way down, you’ll get a vast view of the desert valley below that was once an ancient lake.
If you look closely to the upper left of the image above you’ll faintly see a sign along the trail just before it veers to the right. This sign indicates that you would be under water at that point had the lake still been there.
At the bottom of the trail you’ll reach a dry river bed that cuts through the trail you’re on. You’ll also see two pointed signs with one directing you to the left and another directing you forward. This is where the actual loop begins.
You could go in either direction and end up at the same spot. Going left will take you along the river before turning into and up the canyon. After reaching the viewpoint above, you’ll descend back into the canyon and here is where it’ll ultimately spit you out at. In our opinion, this is the better way to go.
After turning left at the juncture, you’ll follow the dry river bed for a short time before before running into Walker River. At the right time of year, this section of the river doesn’t move very fast. So if you brought your swimsuit, this would be a great spot to take a dip or maybe partake in some fishing.
The trail continues to the right and follows the river for about a quarter mile before finally cutting back into the canyon. When we did this hike it was still early spring, so the trees that dot the river weren’t yet blooming, unfortunately. When they do, it’s a sight to behold (especially in the fall).
Shortly after turning right into the canyon (roughly one mile into the hike), you’ll come across your first of only two opportunities for shade during this stretch of the trail. The next one is 3/4’s of a mile further. So if you’re feeling the need to rest for a bit, do it here.
This stretch of the trail starts from the time you leave the river to the time where you reach the viewpoint at the top and is almost exactly one mile in length. It is very exposed and as stated above, has only two opportunities for shaded rest breaks.
At first glance, you might think there isn’t much to look at here, but you’d be wrong. Thanks to the volunteers that maintain this trail, small informative signs dot the trail pointing out the several examples of desert flora, rock formations, and petrified wood.
Not long after the second shaded area of the trail, you’ll begin your ascent to the viewpoint. This ascent, while still requiring a fair amount of effort, is nowhere near as steep as the one you took to get into the canyon at the beginning.
At the top of the viewpoint, you’ll see a large informative sign detailing the history of the area and what you’re looking at. On your far right, you’ll see Mount Wilson, Singatse Range, and Shamarak Hill. Toward the middle and left you’ll see Ancient Lake Wellington, the Pine Nut Mountain Range, and Mount Siegel.
Once you’ve gotten your fill of the views and took your pictures, you’ll continue down the trail as you descend back into the canyon. This section of the trail is my personal favorite as you go from sweeping mountain views to feeling like you’ve stepped into a scene out of Star Wars.
READ ALSO: Visit Dayton State Park and Rock Point Mill
If you’ve ever seen the tufa’s at Mono Lake in California, the canyon walls that surround you will look similar to that environment. After all, all of what you see here was formed over millions of years of volcanic activity and water movement.
Towards the end, you’ll see examples of what are called, “Hoodoos”. Hoodoos are rock formations that were once solid pieces of land that were carved out by rain, snow melt, and wind leaving the pieces you see today. One of them, as pictured below, resembles a dragon.
As you make your way through the canyon walls and Hoodoos, you’ll come out into an opening signaling the near the end of the hike. You’ll eventually reach a sign (similar to the one at the beginning) stating that you would be under water had the ancient lake still been here. At this point in the hike, you’re at the 3-mile mark.
From here, simply continue on the trail until it spits you out at that same junction you came to at the beginning. Now that you've completed the loop, you can either head back towards to the river to recreate in there or you can go straight up and over the ridge back to your vehicle. Remember the very beginning of this article when I stated the hardest part of the whole hike is the climb out? Well, there it is pictured above. Prepare yourself.
Things to Know
This is an all season trail. Rain and/or snow can make this trail incredibly muddy and hard or even dangerous to traverse. However, this area doesn’t receive a lot of either one so it is accessible anytime of year. We do recommend checking the weather before heading out, though.
Wildlife hazards are present. As with any venture into the wilderness, potential conflicts with wildlife are possible. While I have never seen anything more menacing than deer out here, others have spotted both Cougars and Rattlesnakes. As with anything, use common sense, be prepared, pay attention to your surroundings, and know what to do in case you cross paths with one of them.
The majority of the trail is rocky. The volunteers who maintain this trail do a great job, but they can only do so much. At certain points at both ends of the trail it does get rather rocky and the potential of rolling an ankle is ever present. Watch your step, keep to steady surfaces as much as possible, and you’ll be fine.
The trail is very sun exposed. The descent back into the canyon from the viewpoint has more shade than the way up does. It’s a 3.5-mile trail and for the first two or so, you’re only going to have a couple opportunities for shade. If you’re doing this trail in the summer, we highly recommend getting an early AM start and as always, bring plenty of water and salty snacks with you.
We would rate this hike as family friendly. While it does have steep sections, the trail is mostly flat with occasional gradual inclines/declines. It is our opinion that everyone from adults to children can do this hike. If your kid has never hiked before, it would be a great way to introduce them to it.
Conclusion
We hope you’ve enjoyed this article and that it is helpful to you. If you have any further questions or comments about this hike, please feel free to ask them in the comments section below.
Please support this website by sharing this article with your friends and family on Facebook, Pinterest, or your favorite social media site.
You can further show your support by staying on and reading one or more of the related articles above. Thank you for reading!
Visit Dayton State Park & Rock Point Mill
Established in 1977 and originally used as a Paiute fishing camp, Dayton State Park is 160 acres in size and located in the highly historic Nevada town of the same name. It features hiking trails
Established in 1977 and originally used as a Paiute fishing camp, Dayton State Park is 160 acres in size and located in the highly historic Nevada town of the same name. It features hiking trails, picnic areas, camping, fishing opportunities, and the remnants of the abandoned, “Rock Point Mill”.
Getting Here
Dayton State Park is not too far from two of Nevada’s larger cities; Carson City and Reno. From Carson, you’ll travel east on Highway 50 for about 11 miles before turning right at the entrance.
From Reno, you’ll travel south on I-580 for 30 miles before joining US-50 east for, you guessed it, 11 miles before turning right into the park.
Things to Do
As mentioned at the beginning of this post, there are many activities for you to partake in. For starters, there are two hiking trails in the park. One begins near the campground and winds through the foliage as you make your way to the banks of the Carson River.
The other also begins near the campground but goes in the opposite direction and across the highway to the ruins of an old abandoned stamp mill (more on that later).
There are several picnic areas located throughout the park proper and near the mill site. In addition, the group area provides shade and 10 picnic tables that you can reserve for birthday parties, reunions, etc.
You can also camp here. The campground is located near the entrance and contains 10 sites with fire rings, grills, and picnic tables. In addition to tent camping, each site can accommodate RV’s up to 34 feet in length. Dump stations and restrooms are located nearby.
Park fees are as follows:
$5.00 per vehicle for day use
$15.00 per night for camping (this is in addition to the day use fee)
Like most Nevada State Parks, fees getting collected are largely dependent on the honor system via self register. Both day use and camping fees are to be paid at the register station located at the entrance. Park Rangers do make regular checks throughout the day.
Rock Point Mill
For me and many others, the main attraction of this park is the opportunity to explore the remains of Rock Point Mill, an old stamp mill that first operated in 1861, was destroyed in a fire in 1909, was rebuilt in the same year, and closed for good in 1920.
Rock Point was built by Charles C. Stevenson (who from 1887 to 1890 was Governor of Nevada) at a cost of $75,000. There were originally 40 stamps that crushed silver and gold ore from the Virginia City and Gold Hill mines but was eventually expanded to 56 at its peak.
As mentioned earlier, Rock Point was destroyed by a huge fire in 1909 but was almost immediately rebuilt with galvanized iron. This new version of the mill (which are what most of the remains are from) ran until its permanent closure in 1920.
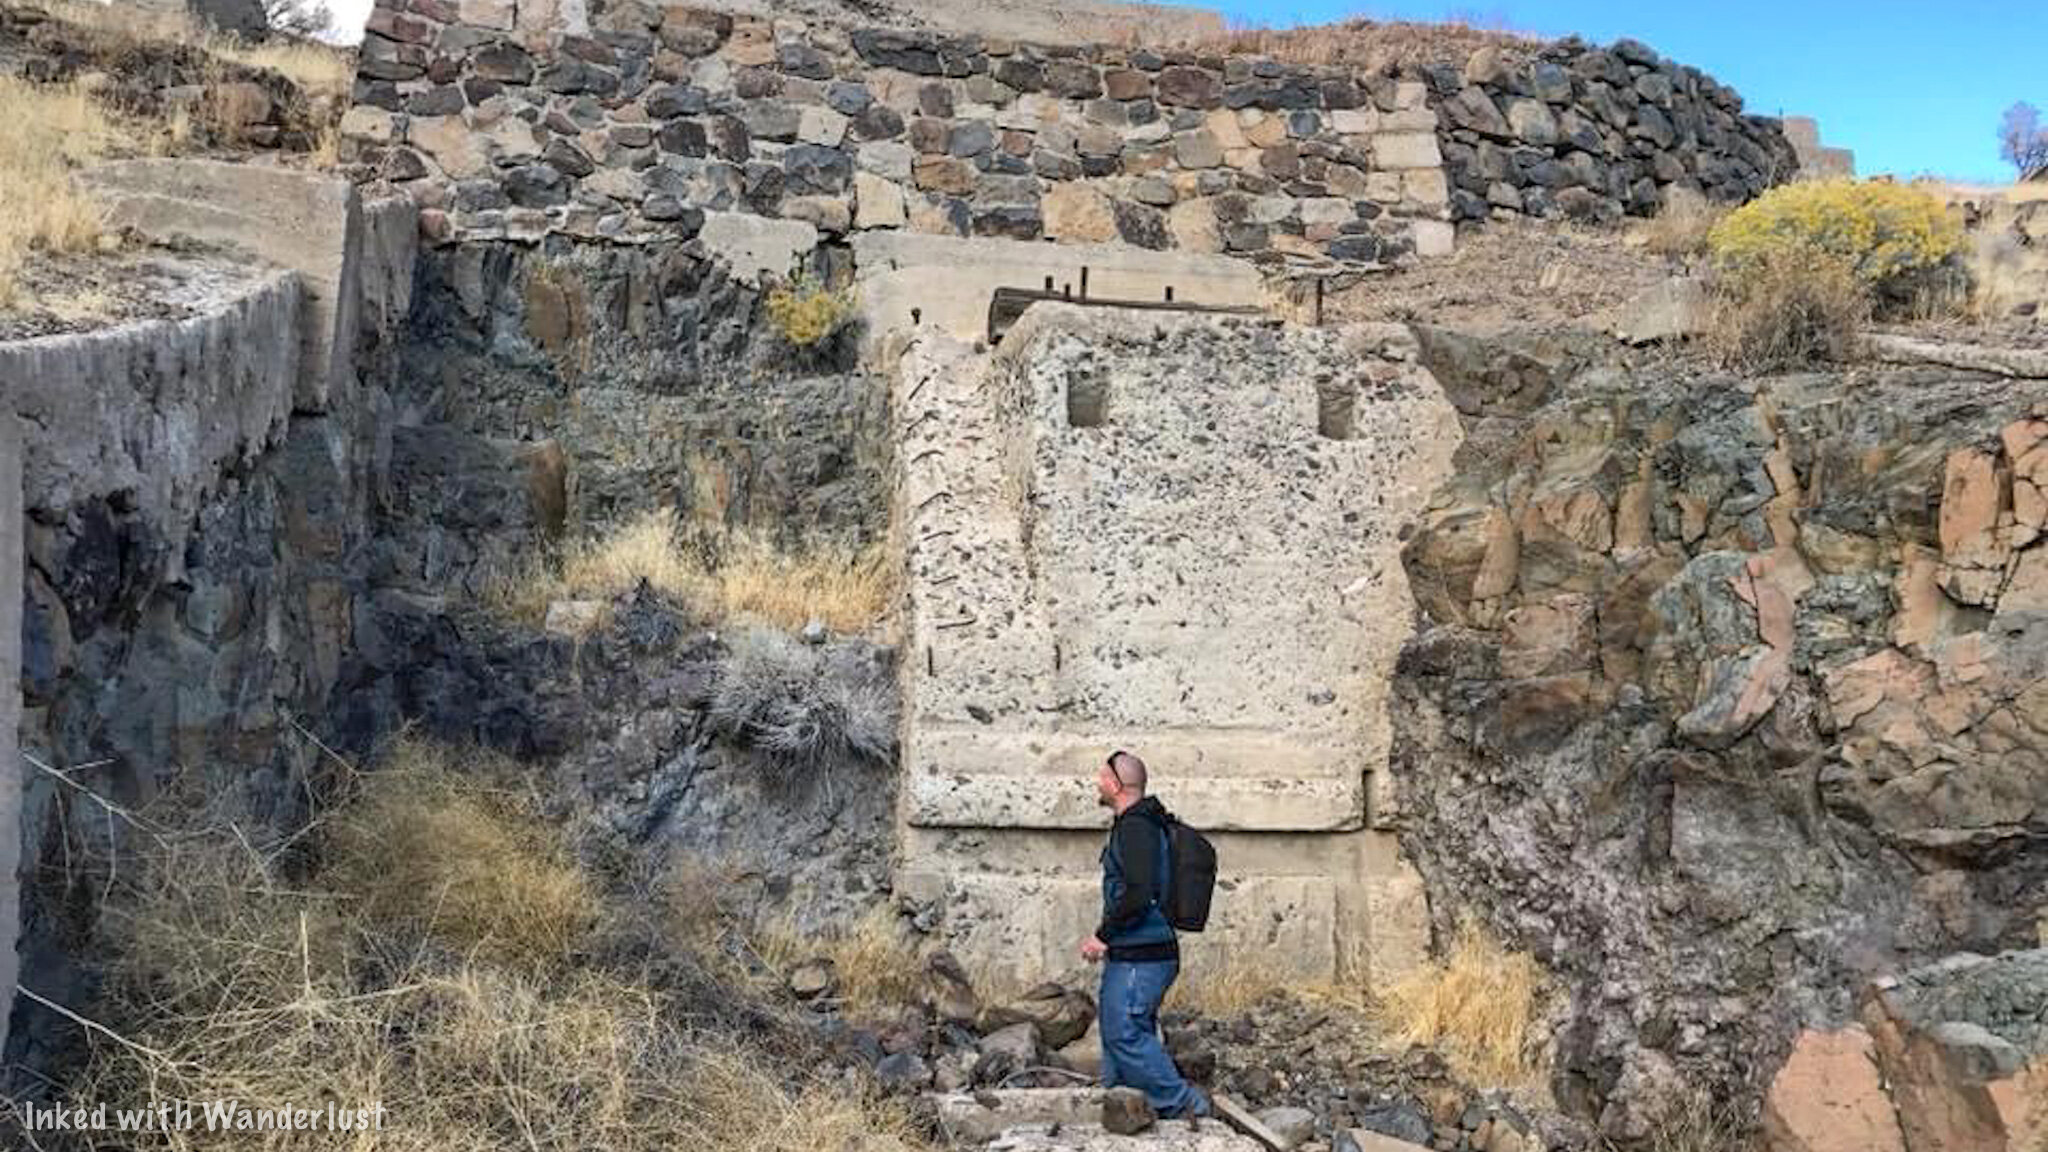
You’re free to wander about the ruins at your leisure. Here you’ll find the stamp remains, mill foundations, and a small rock hole cut out in the base of the mill. It’s not much (only around 5 feet), but it is cool to see.
There are two ways to reach the Rock Point ruins. One way is to utilize the trail that leaves from the campground in the state park proper that runs parallel along US-50. You’ll eventually reach a tunnel that goes underneath the highway and spits you out at the ruins.
If you don’t feel like walking, your other option would be to hop in your car and drive there. You’ll turn left onto US-50 from the park exit and turn right into the Gold Ranch Casino parking lot. You’ll find the entrance to this section of the park to the right of the casino.
From your car, there will be a short stroll through cottonwoods and another picnic area before reaching the ruins. The whole walk will take you around 5 minutes or so.
When to Go
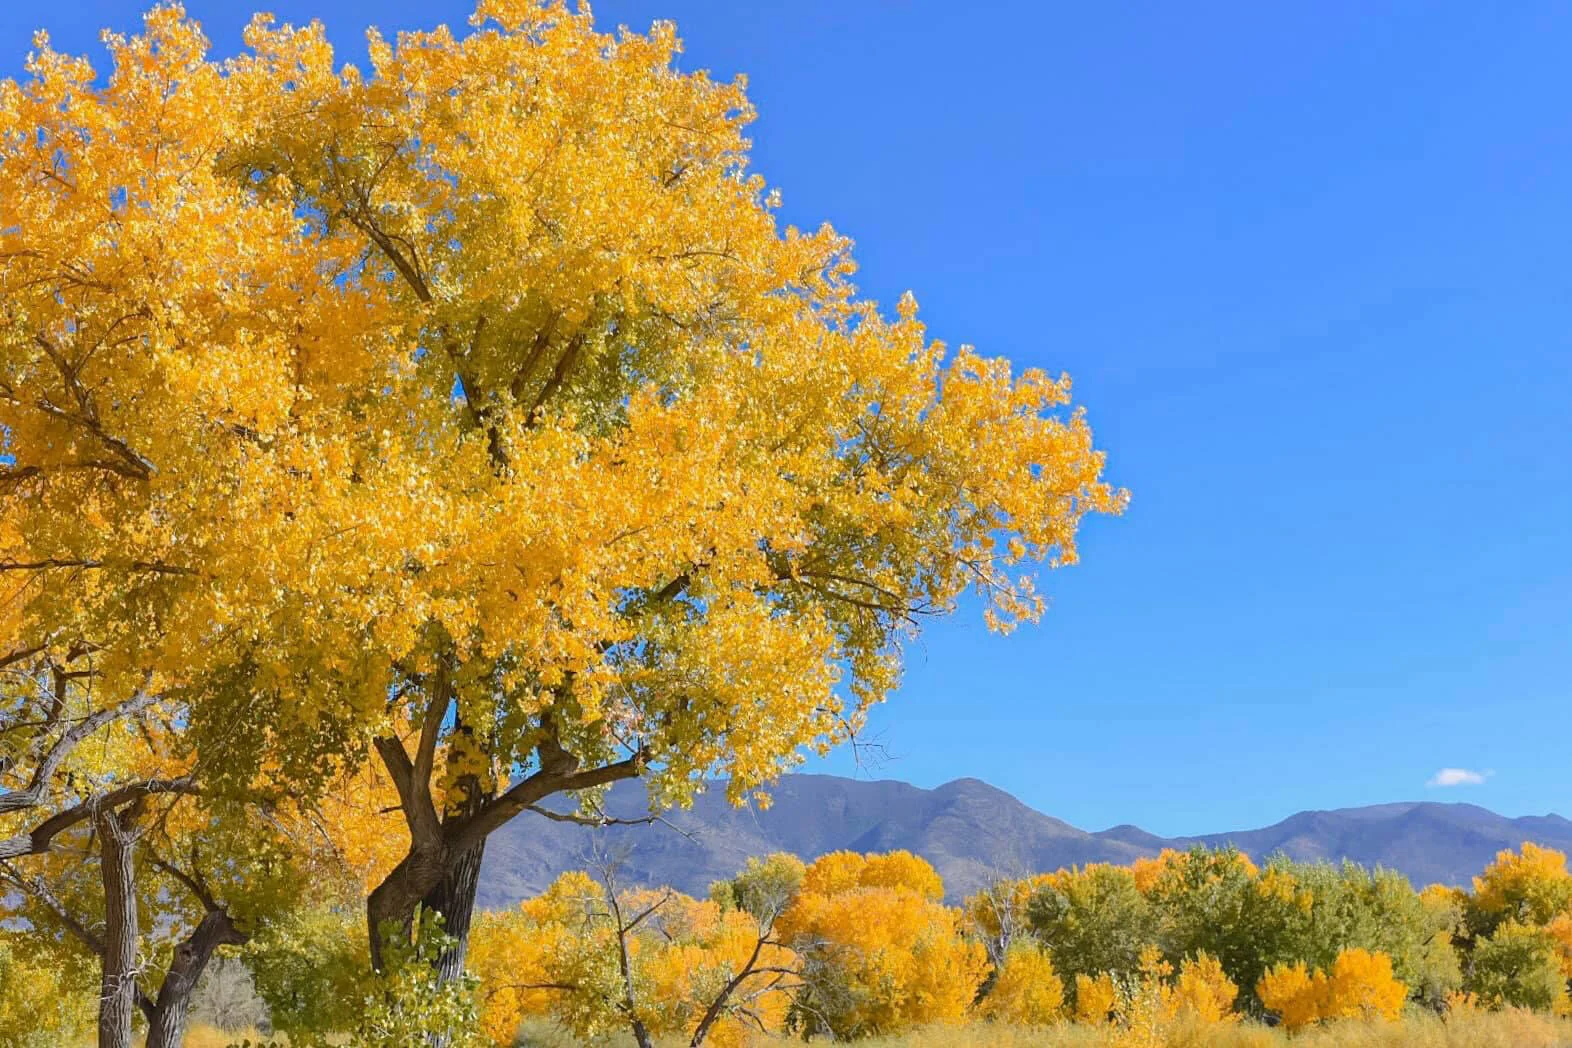
The park is open 365 days a year so really, anytime is a good time. However, if you’re asking my personal opinion, I would highly recommend you pay a visit in the fall. Specifically when the fall colors are at their peak (as you can see in the photo above).
Dayton State Park, as told to me by the Ranger, is on the list for the top 10 places in the entire state for fall colors and I won’t argue with him. If you arrive at peak time, it is drop dead gorgeous.
Summer, as always, will see the most amount of visitors but even then, the park doesn’t get very busy. Chances are good that no matter when you decide to visit, you’ll be able to snag yourself a campsite and enjoy the park with minimal crowds.
Safe travels & thanks for reading!
Please support this site by sharing this article with your friends and family on Pinterest, Facebook, or your favorite social media site.
Furthermore, you can show your support by reading one or more of the related articles above. Thank you.
5 Awesome Day Trips from Reno
With 4.8 million visitors in 2019 and topping 5 million for the first time in 10 years in 2018, the Biggest Little City is relevant once again and is starting to re-claim its spot as a prime tourism hot spot
With 4.8 million visitors in 2019 and topping 5 million for the first time in 10 years in 2018, the Biggest Little City is relevant once again and is starting to re-claim its spot as a prime tourism hot spot.
Despite there being many things to do and see in Reno, part of its appeal is its proximity to other cities and attractions. Many of which are an easy one hour or less drive from downtown. The list below is of 5 cites or attractions you could easily visit during your Reno vacation.
1) Lake Tahoe
*As of August 30th, 2021, the entirety of Lake Tahoe has been evacuated due to the Caldor Fire. Please avoid the area. We will provide updates on our Facebook page as they come in.
Distance from Reno: About 61 miles (or just over an hour drive away).
Lake Tahoe is a year round destination with plenty to do. There’s hiking and boating during the summer months and skiing being the main activity in the winter. You can enjoy the California side of the lake or stay on the Nevada side and partake in some gambling at one of the hotels in Stateline.
Tahoe and Reno have always had a connection to one another and often share tourists. Frank Sinatra, back in the day, would often travel between them to perform which helped bridge the gap between the two (it’s also worth mentioning that the mob had a hand in both as well).
Using Reno as your base to visiting Tahoe has its advantages as the hotels tend to be more affordable and when the weather gets bad in the winter in Tahoe, it usually isn’t as bad (or non-existent) in Reno.
2) Historic Downtown Truckee
Distance from Reno: About 35 miles (or about a 40-minute drive away).
Also not far away is the historic gold-mining town of Truckee, California. A lot of people are unaware of Truckee’s existence, often passing it by for neighboring Lake Tahoe. However, Truckee has plenty to offer visitors all its own.
Nearby is Donner Memorial State Park and Donner Lake. There’s many recreational activities to be had in the lake and while it does get crowded, it doesn’t get nearly as bad as Tahoe. The state park proper has a visitor’s center detailing the history of the Donner Party, a campground, and a couple hiking trails to enjoy.
The historic downtown area is the main feature, though. The area was transformed to accommodate tourists with local shops, restaurants, and the like. The historic jail is open for decent led tours (recommended), your free to check out the historic (and still operating) train depot, and enjoy the Truckee River during the warmer months.
3) Genoa, Nevada
Distance from Reno: About 47 miles (or around a 50 minute drive).
This quaint little town in Nevada is located in the beautiful Carson Valley and just a stones throw away from Tahoe. It was founded in 1851 and has the unique designation of being Nevada’s oldest town. A man by the name of John Reese was the first to settle here and built a trading post for the many explorers and trappers who made their way through the area.
The main attractions of the town include Mormon Station State Historic Park, The Genoa Courthouse Museum, Genoa Cemetery, and Genoa Town Park. Every year in September (sans 2020), the town hosts, “Candy Dance”, an uber popular arts and crafts faire that began in 1919. The event draws visitors and artists from around the country, making it one of the most popular events in the state.
4) Fort Churchill State Park
Distance from Reno: About 48 miles (or 50 minutes to one hour drive).
If you or a member of your family are history buffs, specifically military history, or you enjoy exploring abandoned places, you’ll want to add a trip to Fort Churchill to your plans. The park is located near the small town of Silver Springs and contains the remnants of an Army Post originally built in the mid 1800’s.
Another attraction nearby is Lake Lahontan State Recreation Area. Lahontan is an ancient lake that used to encompass nearly the entire state of Nevada and parts of California and Oregon. While it isn’t the gargantuan it used to be, it’s still worth checking out.
READ ALSO: Exploring Fort Churchill: An Abandoned Army Post in Nevada
5) Virginia City
Distance from Reno: About 36 miles (or 35-40 minute drive).
Virginia City is literally teething with history and is my personal favorite place on this list and if you decide to visit, I know you’ll love it too. There’s quirky shops, old town saloons, abandoned mine tours, a beautifully old cemetery, historic hotels, gold panning, and ghosts. Wait…what?
That’s right. Virginia City is renowned as one of the most haunted places in not just the state, but the country. While I’ve personally never seen one, I have had a couple of “weird” experiences that made me a believer. I’ve also been shown photographs from locals that were pretty convincing. You never know, you may end up having a spooky experience yourself.
Conclusion
As you can see, there’s many places that are within an easy drive from Reno. You have everything from scenic lakes to abandoned places to haunted cities to check out during your visit. Nevada has it all. You just have to know where to look.
Safe travels.
Please support this site by sharing this article with your friends and family on Pinterest, Facebook, or your favorite social media channel.
You can further show your support by reading one or more of the related posts above. Thank you.
