The Mist Trail: Hike One Of Yosemite's Most Beautiful Trails
5 minute read | Contains affiliate links
Yosemite is filled to the brim with many popular and beautiful natural attractions and trails. However, there are a select handful that are insanely popular in the park.
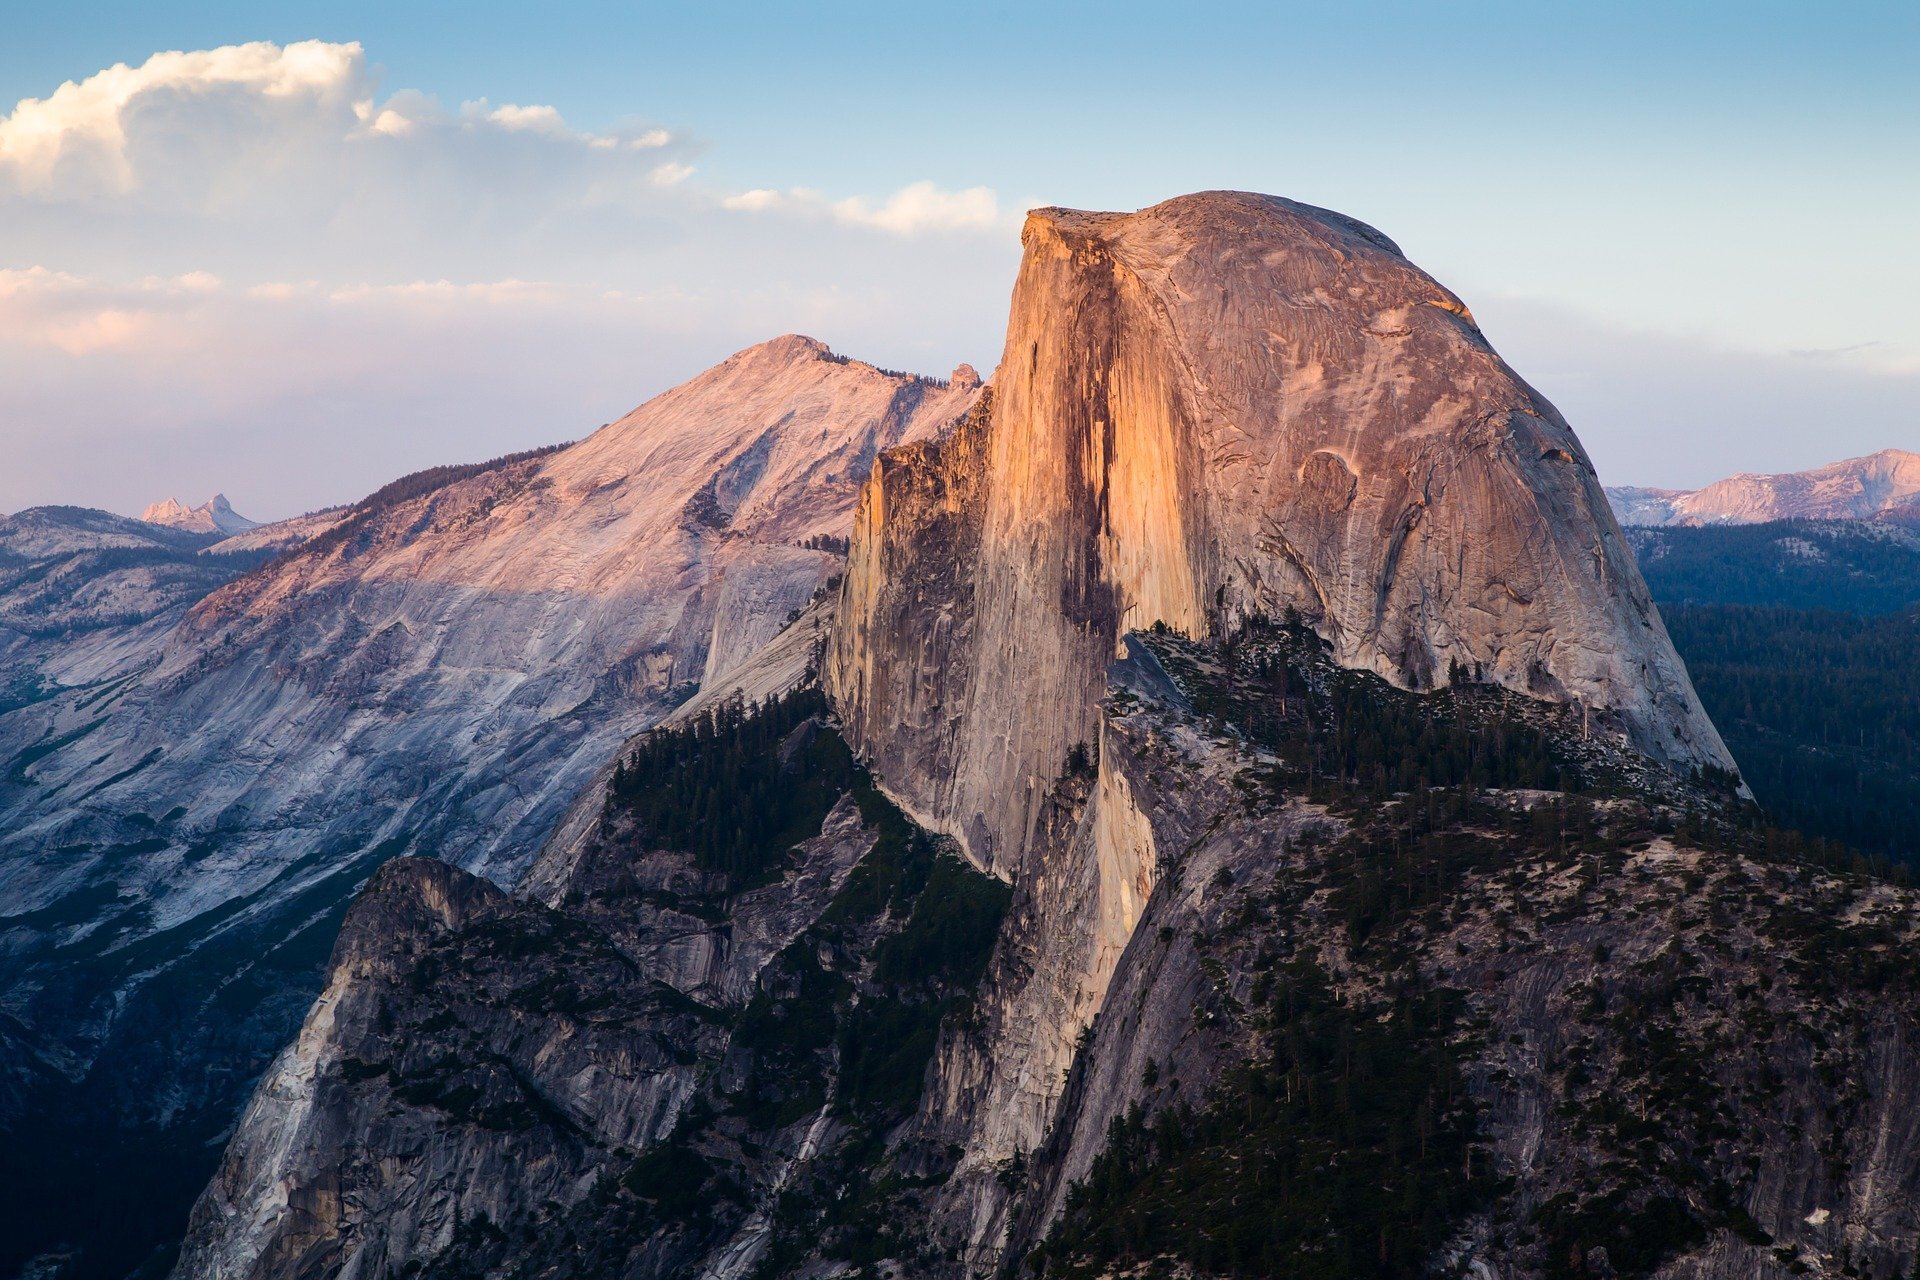
We have been blessed to have hiked many Yosemite trails and while they are all amazing in their own right, there are two that stand out from the pack; Half Dome and The Mist Trail.
We’ve covered Half Dome in a previous article that details my experience and gives you a good idea of what to expect.
While The Mist Trail is partially covered in that one (The Mist Trail is where most hikers begin), we felt it to be deserving of its own detailed, dedicated post.
Quick Stats
Location: Yosemite National Park (Valley)
Red Tape: None for the trail, but you’ll need to pay the park entrance fee
Open: Spring through Fall
For: Hikers only
Parking: Large dirt lot a quarter mile from the trailhead
Restroom: Two. One at the Vernal footbridge and another at the top of Nevada Fall
EV Stations: None
Drone Use: Not allowed
Difficulty: Moderate to hard
Time: Two to four hours
Milage: Three miles (RT) to Vernal Fall / Seven miles (RT) to Nevada Fall
Elevation Gain: 1,925 feet
Trail Condition: Well maintained and marked
Main Feature(s): Vernal Fall & Nevada Fall
Pets: Not allowed
Special Notes/Hazards: The stone steps along the trail are slick, some are steep, and they can be dangerous. Watch your footing
Our Visit(s): September 2017 & June 2020
The Mist Trail
Parking can be somewhat complicated for this trail (Yosemite as a whole, really). This trail is one of, if not the, most popular in the park. So the lot fills quickly.
Those who are hiking Half Dome utilize this trail and parking lot as well and they get an early start. So the lot may be already partially full by the time the sun rises.
Usually, if you get here before 9am, you’ll likely score yourself a spot. If it’s full, signs will be posted alerting you to that.
Your options in this case would be to park at Curry Village (an additional half a mile away) or park elsewhere in the park and take the free shuttle.
Private vehicles are not allowed on the road going to the trailhead. So either way, you’re going to have to walk to get there.
Simply follow the road to the trailhead. It’ll be to your right after the bridge. After a short distance, you’ll see a gate and trail signage on your left. This is the official starting point.
Vernal Falls
The first feature on this trail is the beautiful Vernal Fall. Not counting the distance from the parking lot, it’s 1.5 miles from the trailhead to the top of Vernal.
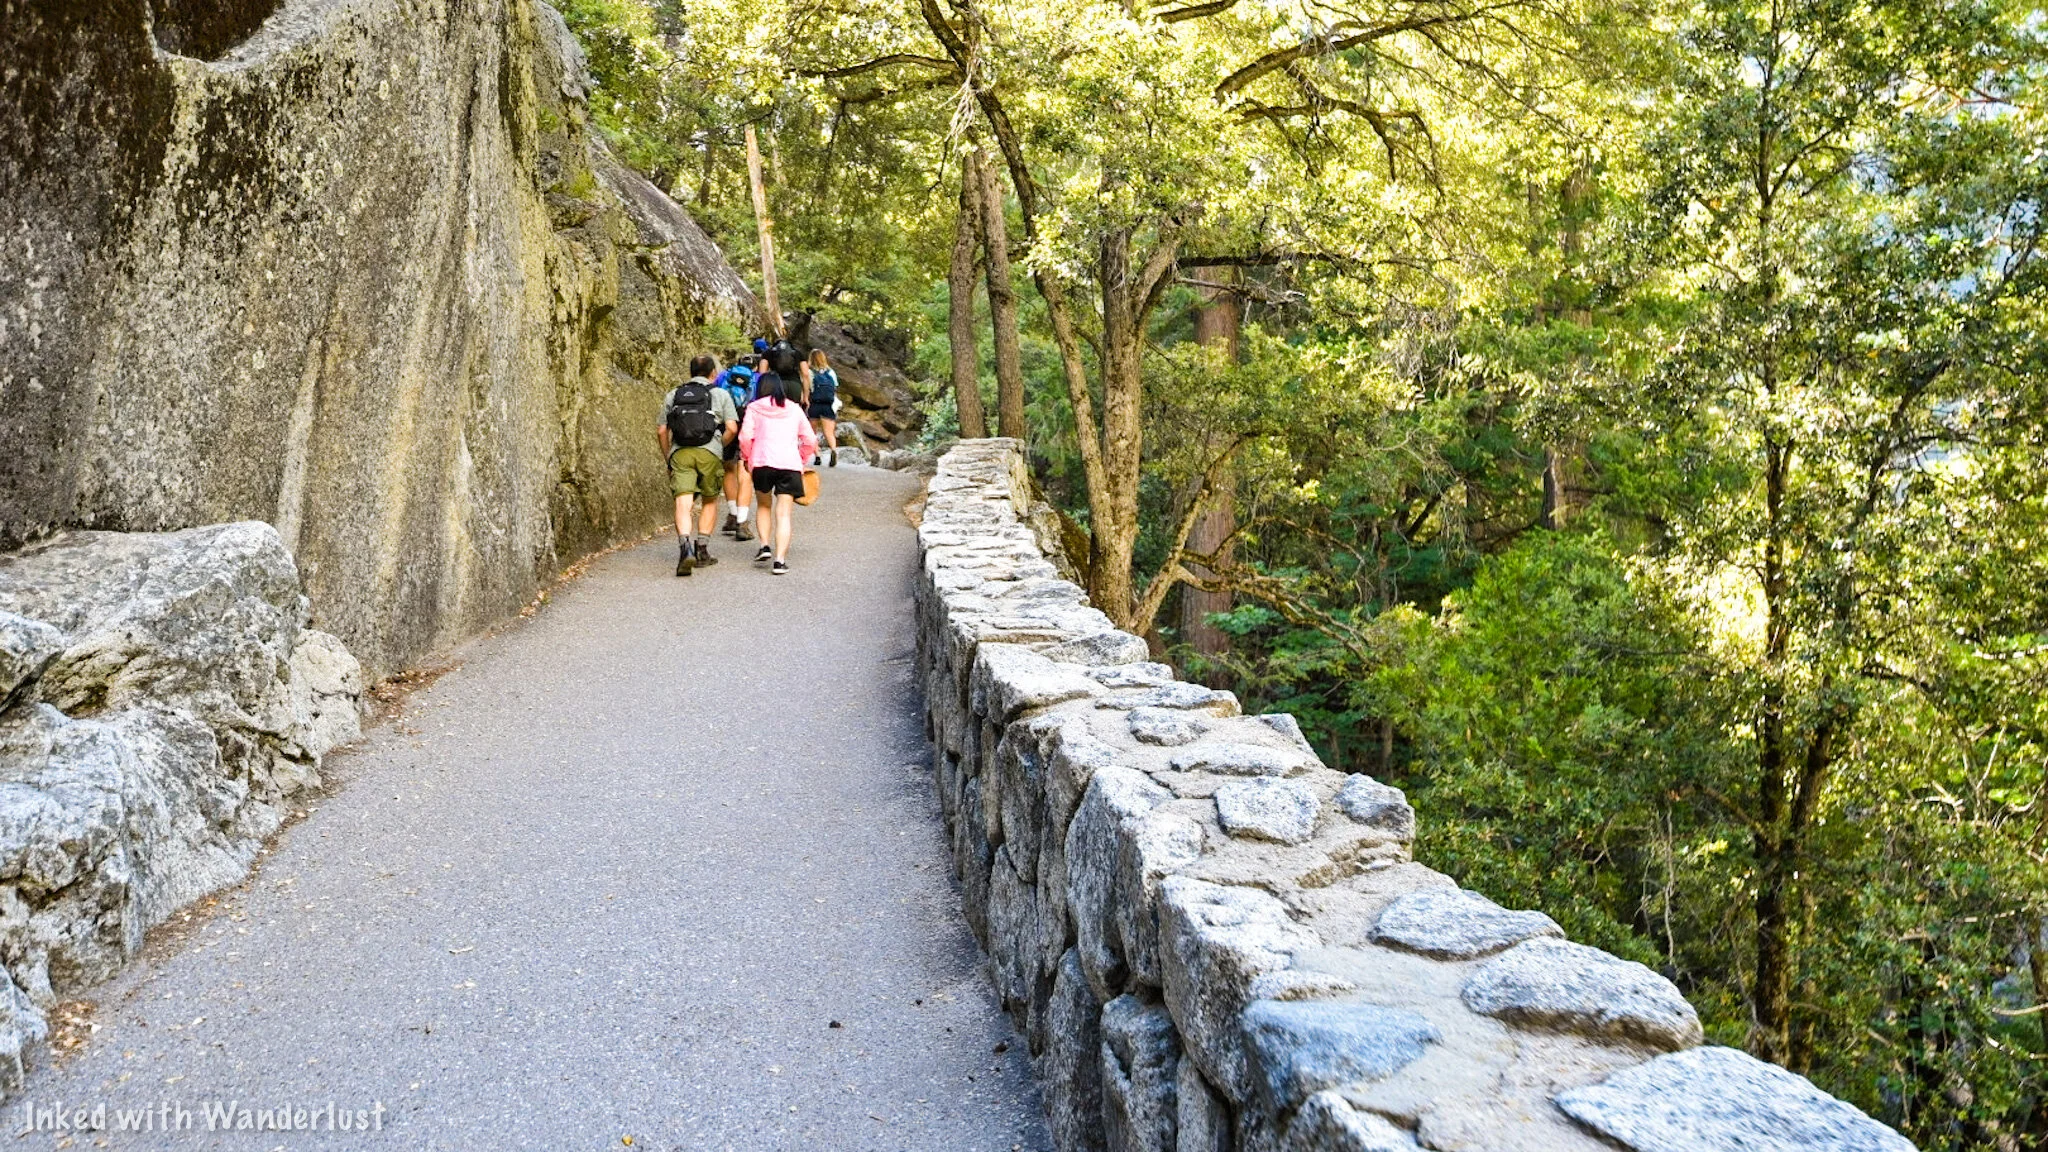
Don’t let the short distance fool you. This trail is anything but easy. It’s a relentless, uphill slog nearly the entire way. Not to mention the slick, stone steps.
After a mile, you’ll arrive at the Vernal Fall footbridge. Here, you’ll get your first and only opportunity at filtered water via the fountain. You’ll also have access to the first of two restrooms.
Both are located just past the bridge. This is the point where a lot of visitors decide to call it a day and head back (you do get a slight view of the falls from the bridge).
You’ll also have a fork in the trail here. If you don’t want to deal with the slick stone steps, you can take the John Muir Trail.
This trail is on a far more even grade, but it will not take you to the base of Vernal and it will add a bit more time to your hike. To experience the mist, continue left on the trail proper.
The trail begins to climb again as you get closer to Vernal. Soon, you’ll approach the beginning of the stone steps and get your first glimpse of this magnificent waterfall.
I’ve never counted them, but according to my research, there are 500-600 of these steps. Again, these steps are SLICK. Be mindful of your footing.
As you make your way up the steps, it’ll soon dawn on you where this trail’s namesake comes from. Though the amount of mist you experience will depend on the time of year.
If you’re here in the fall, you’ll experience little, if any. This is due to the falls not flowing as heavily as they do in the spring.
That said, come during spring or early summer and you’ll definitely find out why it’s called the Mist Trail. You WILL get wet. Soaked, even.
We caution anyone with a camera that isn’t properly weather sealed to stow it away before proceeding. Also, If you’re against getting wet, a poncho would be advisable.
Once you’ve reached the mid-way point between the steps (you’ll know you’re there when you’re on a flat-ish area at eye level with the waterfall), you’ll be mostly out of the reach of the mist.
You’ll also have a decent amount of tree cover to help you escape the sun for a bit with various rocks to site on, if needed.
From here, you’ll have an epic view of the gorge that Vernal dumps into and the river, which has been cutting through here for many years. It’s an amazing, unbeatable sight.
If you’re lucky, the sun will hit the mist just right and present you with a rainbow (or two) to gaze at. At this point, you’re roughly one-mile into the hike.
From here, you’ll have a choice. This is the point where a lot of visitors decide to turn back. However there are more amazing views at the top of Vernal.
To do this, you must hike another half mile up a few hundred more stone steps. These steps are not usually as slick as the ones along the base, though.
Pictured above, you’ll see the last of the steps you’ll need to tackle before reaching the top. Once up there, you’ll see much more of the gorge leading into the valley and get up close to Vernal’s edge.
The river you see feeding the falls is the Merced River. The waters leading to the edge usually appear calm, but strong currents are always present.
At the edge, the Merced dumps millions of gallons of water 317-feet into the gorge below. The view up here is simply remarkable.
From here, you'll again have a choice to make. You can head back to your car or you can continue on for another 1.5 miles to Nevada Fall.
Nevada Falls
About a mile from Vernal, you’ll come to the Nevada Fall footbridge. The view of the Merced cutting through the granite boulders is an amazing sight.
From the bridge, you’ll have a great view of Liberty Cap. Many visitors mistake this for Half Dome (wishful thinking). From here, you’re close to the end of the trail (and another restroom).
While Nevada doesn’t produce nearly the amount of mist that Vernal does, the steps will still be slick. The good news is you won’t have as many to deal with as in between the steps are moments of compact dirt.
Once at the top, there’s rocks and log furniture to take a break on. There’s also the second opportunity for restroom use. This one is surprisingly well maintained.
If you’re a Half Dome permit holder, you’ll want to continue onward from here. For you Mist Trail day hikers, it’s time to head back. You’ll have two options on how to do this:
You can take the John Muir Trail down. This will add another mile to the hike, but its much smoother as you won’t have to negotiate the stone steps. Plus, you’ll get a unique view of Nevada Fall.
You can head back down the same way you came up. Keep in mind, going down those steps is worse than going up (especially if they’re slick). Going down the JMT may add an hour, but it wouldn’t necessarily add more time as it would more than likely take longer to deal with the steps.
On our 2017 visit, we opted to go back down the Mist Trail versus the JMT. Almost immediately, I regretted that decision. Seriously, consider the JMT.
Things to Remember
This is NOT an easy going trail. It may be fairly short, but don’t underestimate the potential dangers. More people have been killed or hurt on this trail than any other in the park. That includes Half Dome. It is sun exposed, has thousands of slick stone steps, and a powerful river running through it. Keep to the trail, watch your step, bring plenty of water/snacks, and don’t overdue it.
Swimming or wading is NOT allowed. Years ago, people were able to swim in the emerald pools up river from Vernal Fall. Unfortunately, those days are over. Far too many deaths have occurred from people getting swept over the edge.
The trailhead parking lot fills up early. The closest parking lot to the trailhead fills up quickly. Even if you do snag a spot, you’ll still have to walk a quarter-mile to the trailhead. So keep this in mind when planning your day and prepare for the possibility of having to park further away and taking the shuttle in.
Have a great time. Despite the potential dangers, this trail is one of the most breathtakingly beautiful trails you’ll ever hike. Pace yourself, take pictures, and be sure to pause and allow the beauty of Yosemite to consume you. If you only have time for one day hike during your visit, this is the one.
A quick note…
We’re often asked about the equipment we use to capture the photos on our website. Below, we’ve added Amazon links to those products and others that we recommend.
If you decide to purchase, Amazon will pay us a small commission. This helps us keep Inked with Wanderlust running and doesn’t cost you anything extra.
“Understanding Exposure” by Bryan Peterson (this book is a great resource for anyone starting out in photography)
Conclusion
It is our hope that this article was helpful to you in planning your next adventure. If so, please share it with your family and friends on Facebook or Pinterest.
You can further show support by subscribing to our newsletter below. In it, you’ll receive a once weekly newsletter containing announcements, new post alerts, news, and more!
If you have any questions, comments, or suggestions, please engage with us in the comment section below.
Thanks for reading and safe travels!


